Your inMotion Account
Creating an inMotion Account
To use inMotion you'll need to sign up for an account at
app.inmotion.io/signup. You'll be asked for:
Activities stored in an account can only be seen by users who've been given the appropriate access by the account owner - see Managing account access below.
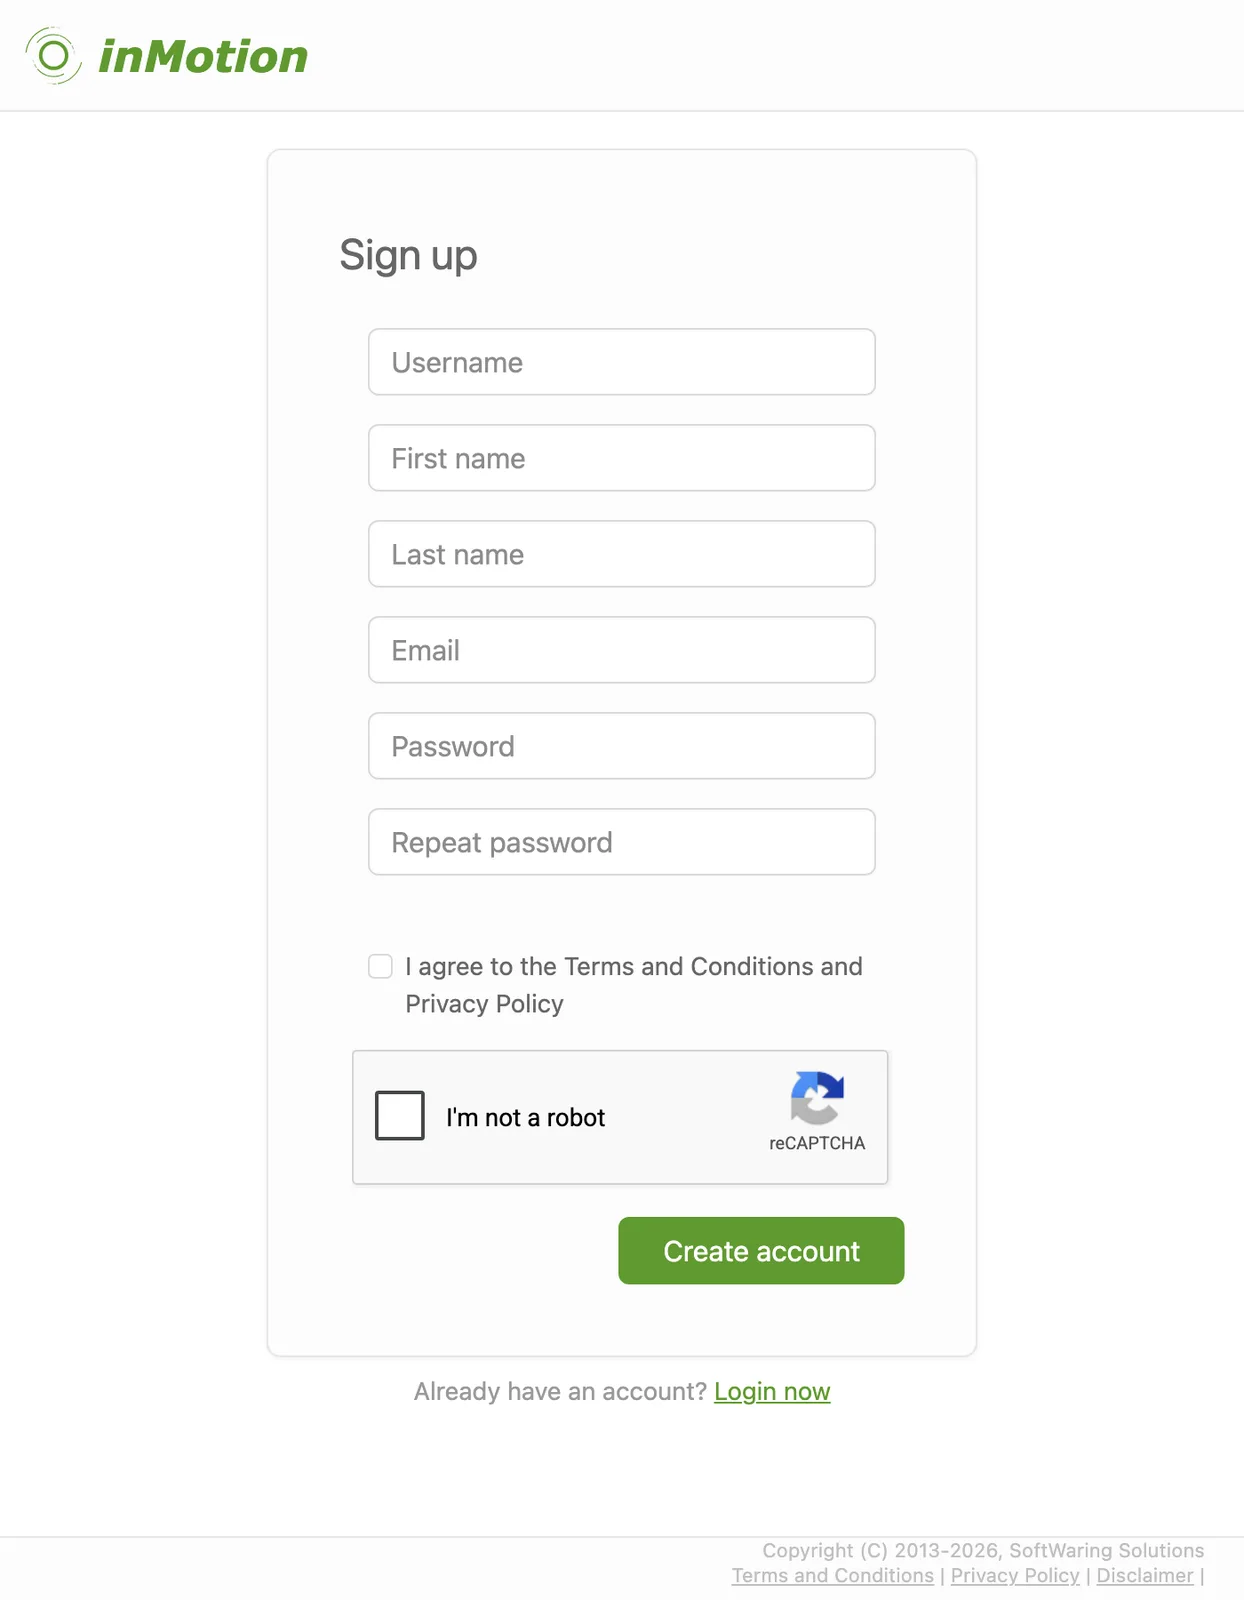
- A username - this is publicly visible, so avoid using anything private.
- Your first and last name.
- A valid email address.
- A secure password - at least 8 characters, including mixed case, a number, and a special character.
Activities stored in an account can only be seen by users who've been given the appropriate access by the account owner - see Managing account access below.
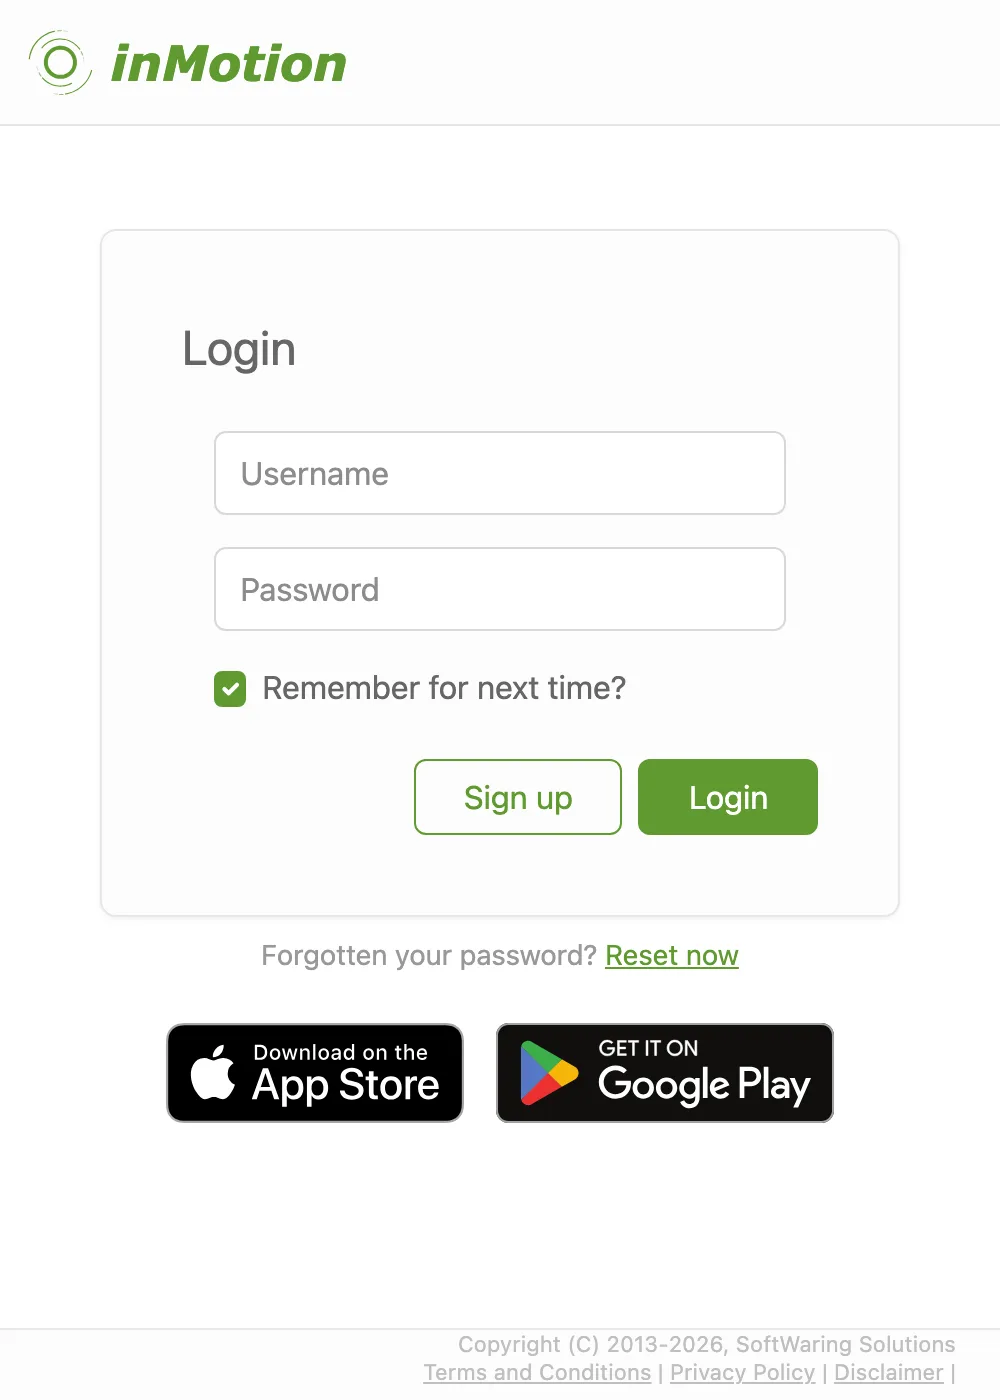
Logging In
Head to app.inmotion.io/login and enter the
username and password you signed up with. Once you're authenticated, you're straight into
inMotion - no further steps needed.
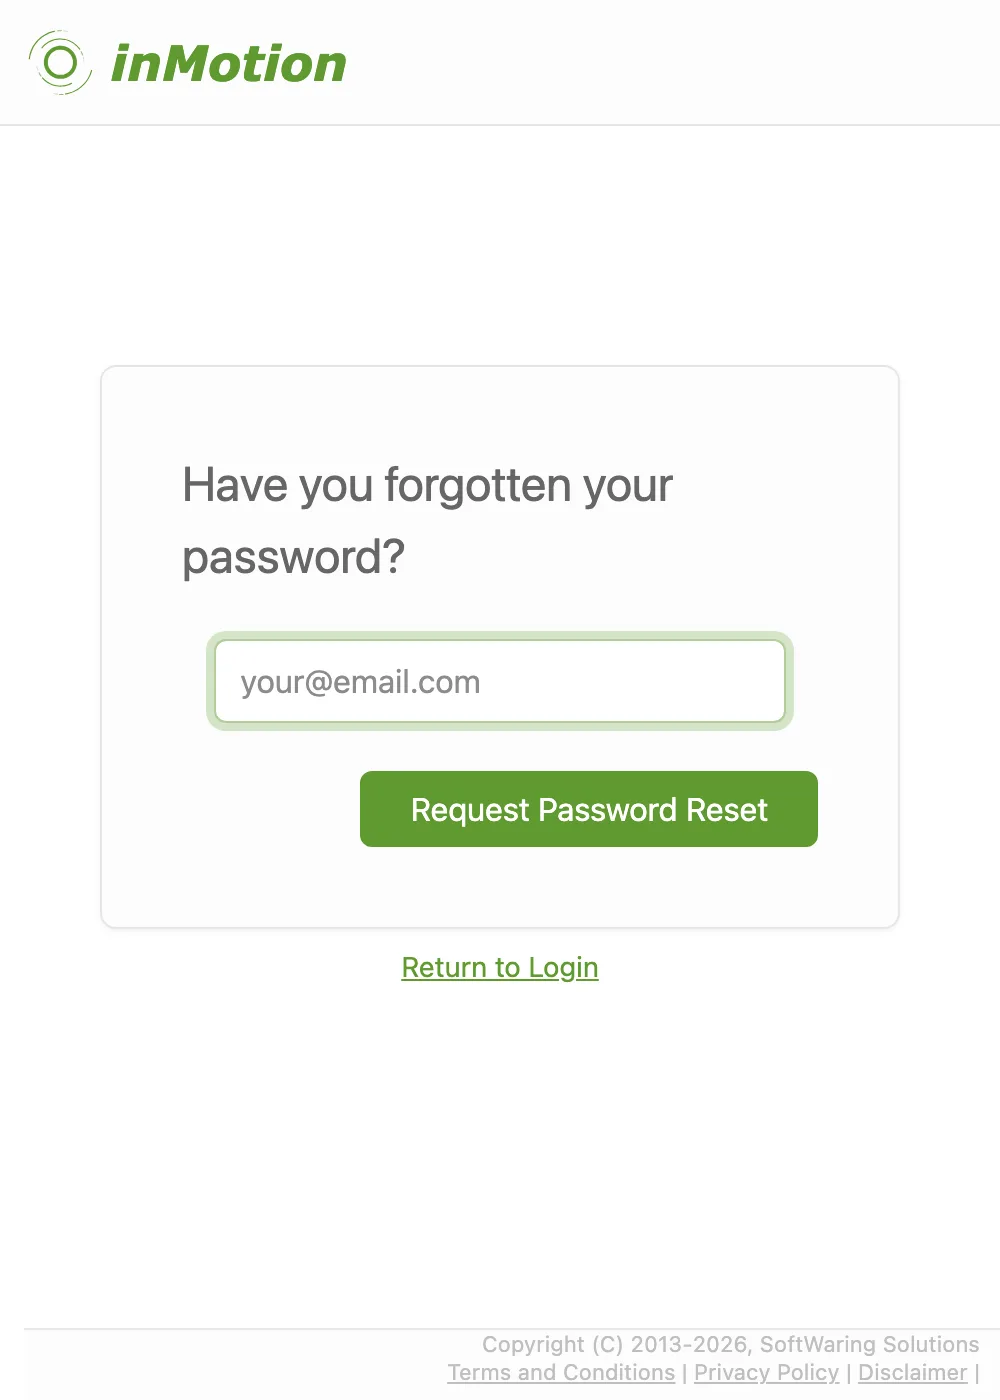
Forgotten Your Password?
Go to app.inmotion.io/reset-password
and submit the email address you signed up with. You'll receive a reset link by email, valid for 24 hours.
If you receive a reset email you didn't request, you can safely ignore it - no action is needed.
If you receive a reset email you didn't request, you can safely ignore it - no action is needed.
Changing Your Password
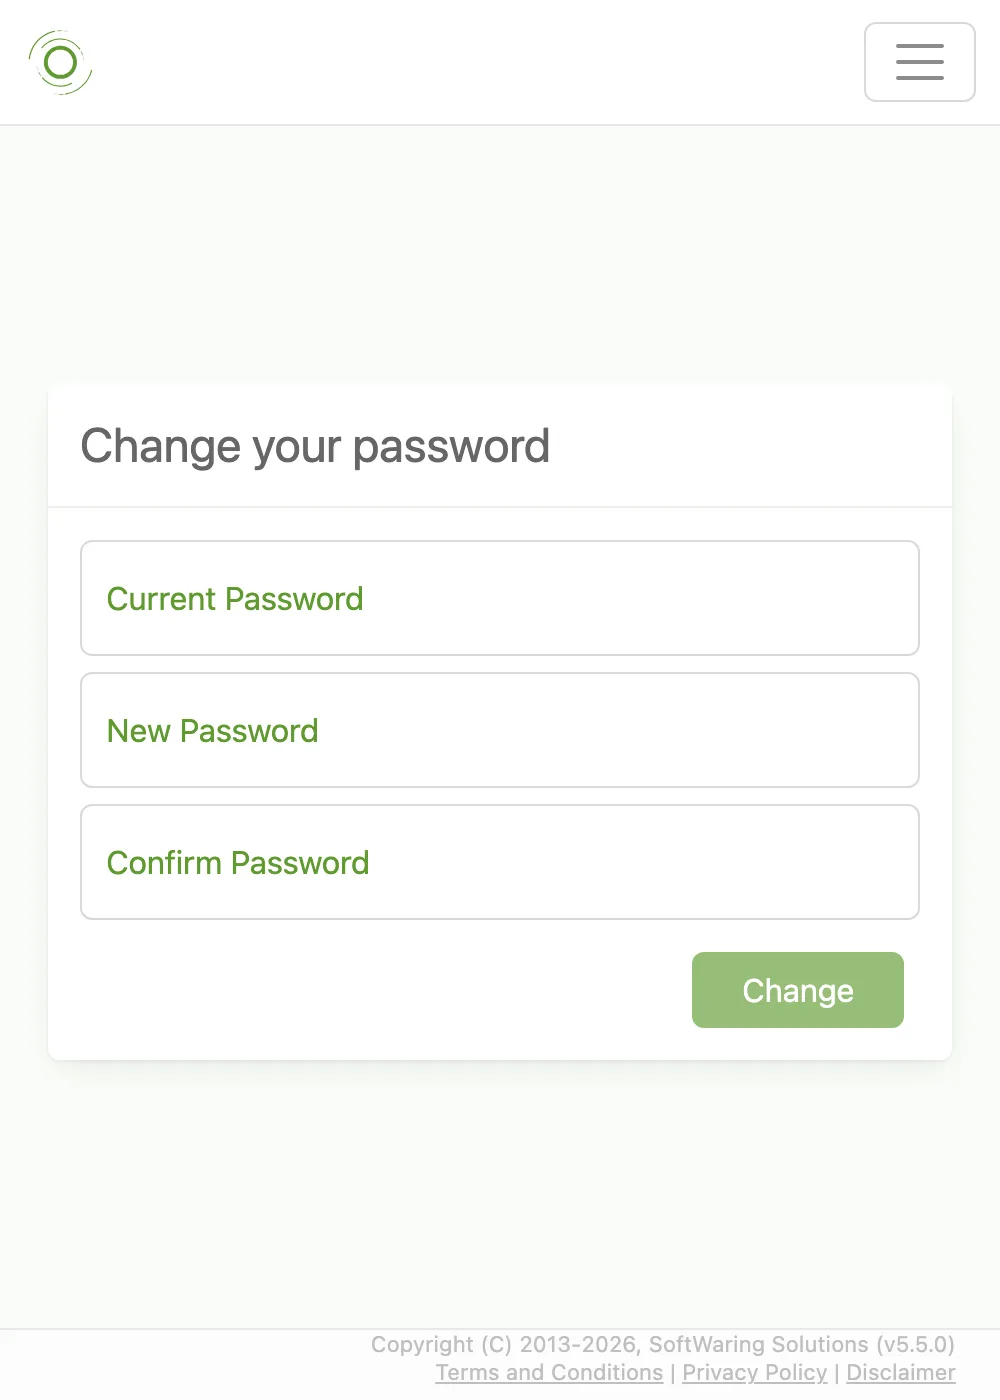
If you are already logged in and want to change your password, open the dropdown menu under your name, choose
Settings, then My Details and its Sign-in tab. Click Change Password to reveal the
form - you'll need to enter your current password, then your new password twice, to guard against typos.
Updating Your User Details
From the dropdown menu under your name, choose Settings, then My Details.
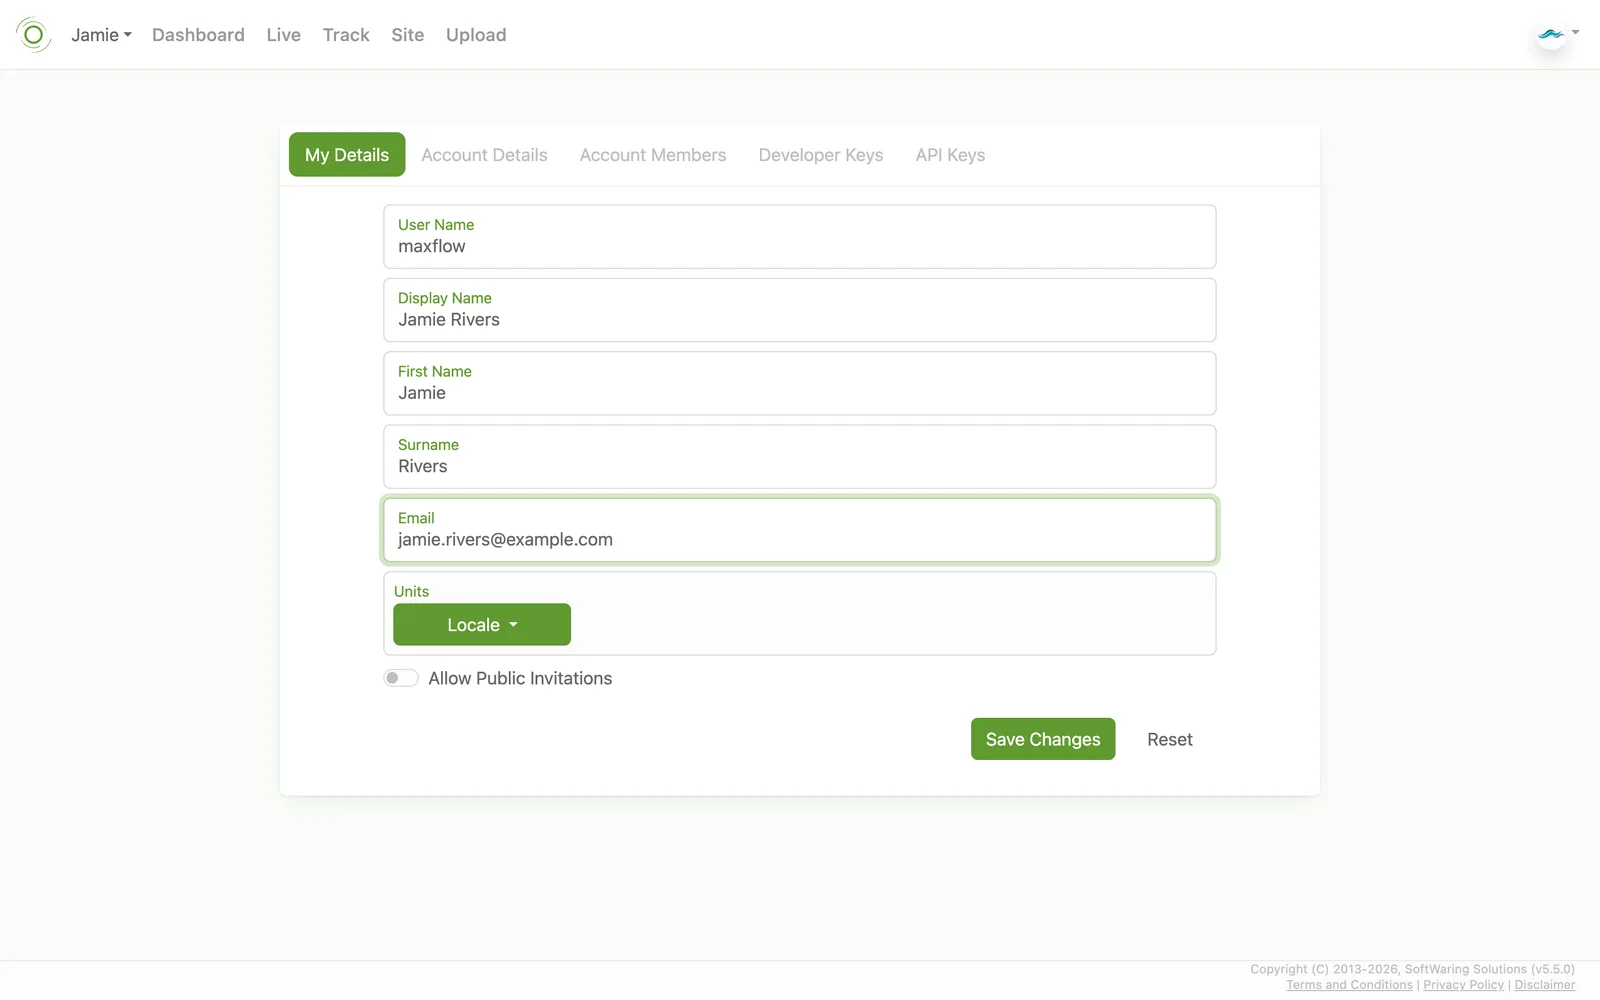
- Profile - display name, first name, surname, preferred units and locale, and Allow Public Invitations so others can find and request access to your account.
- Sign-in - username, email address, multi-factor authentication, and changing your password (see Changing Your Password above).
Account Details
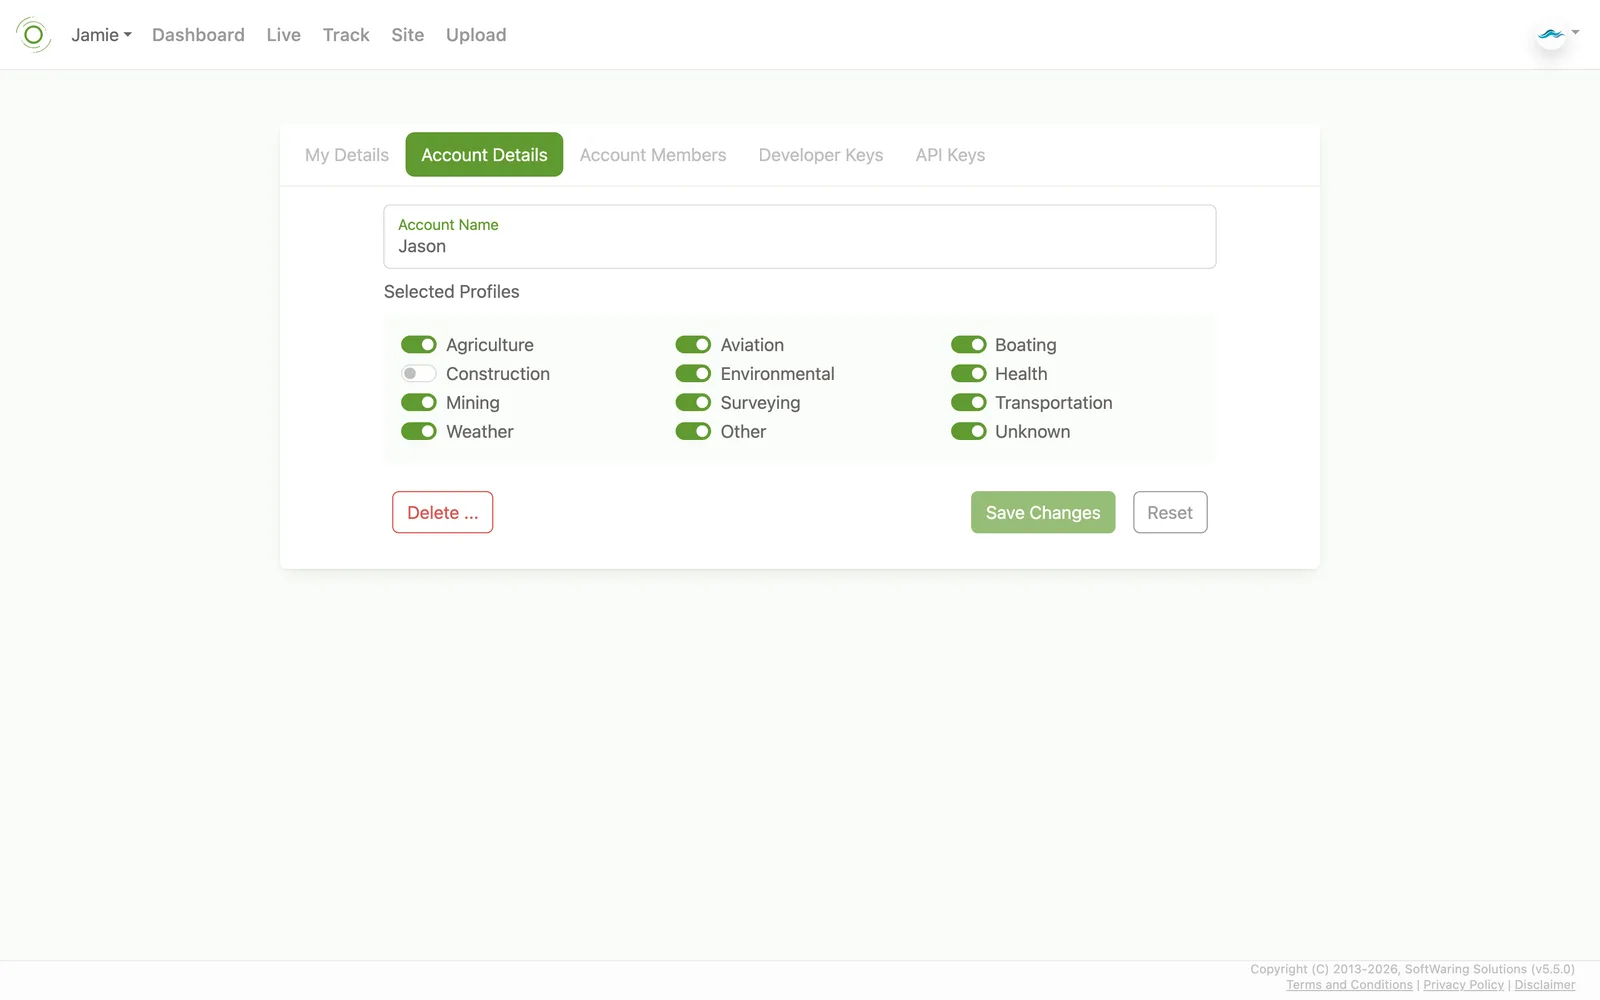
Every user has an account, which can hold activities and be shared with others. From the dropdown menu, choose
Settings, then My Account and its Details tab, to rename the account or set which profiles
apply to it (for example agriculture, aviation, boating, construction, environmental, health, mining, surveying,
transportation, weather, or other) - this helps tailor the activity types available to that account. You can
also request deletion of the account entirely from this screen.
Managing Account Access
From the dropdown menu, choose Settings, then My Account and its Members tab, to add other
inMotion users to your account and control what they can do:
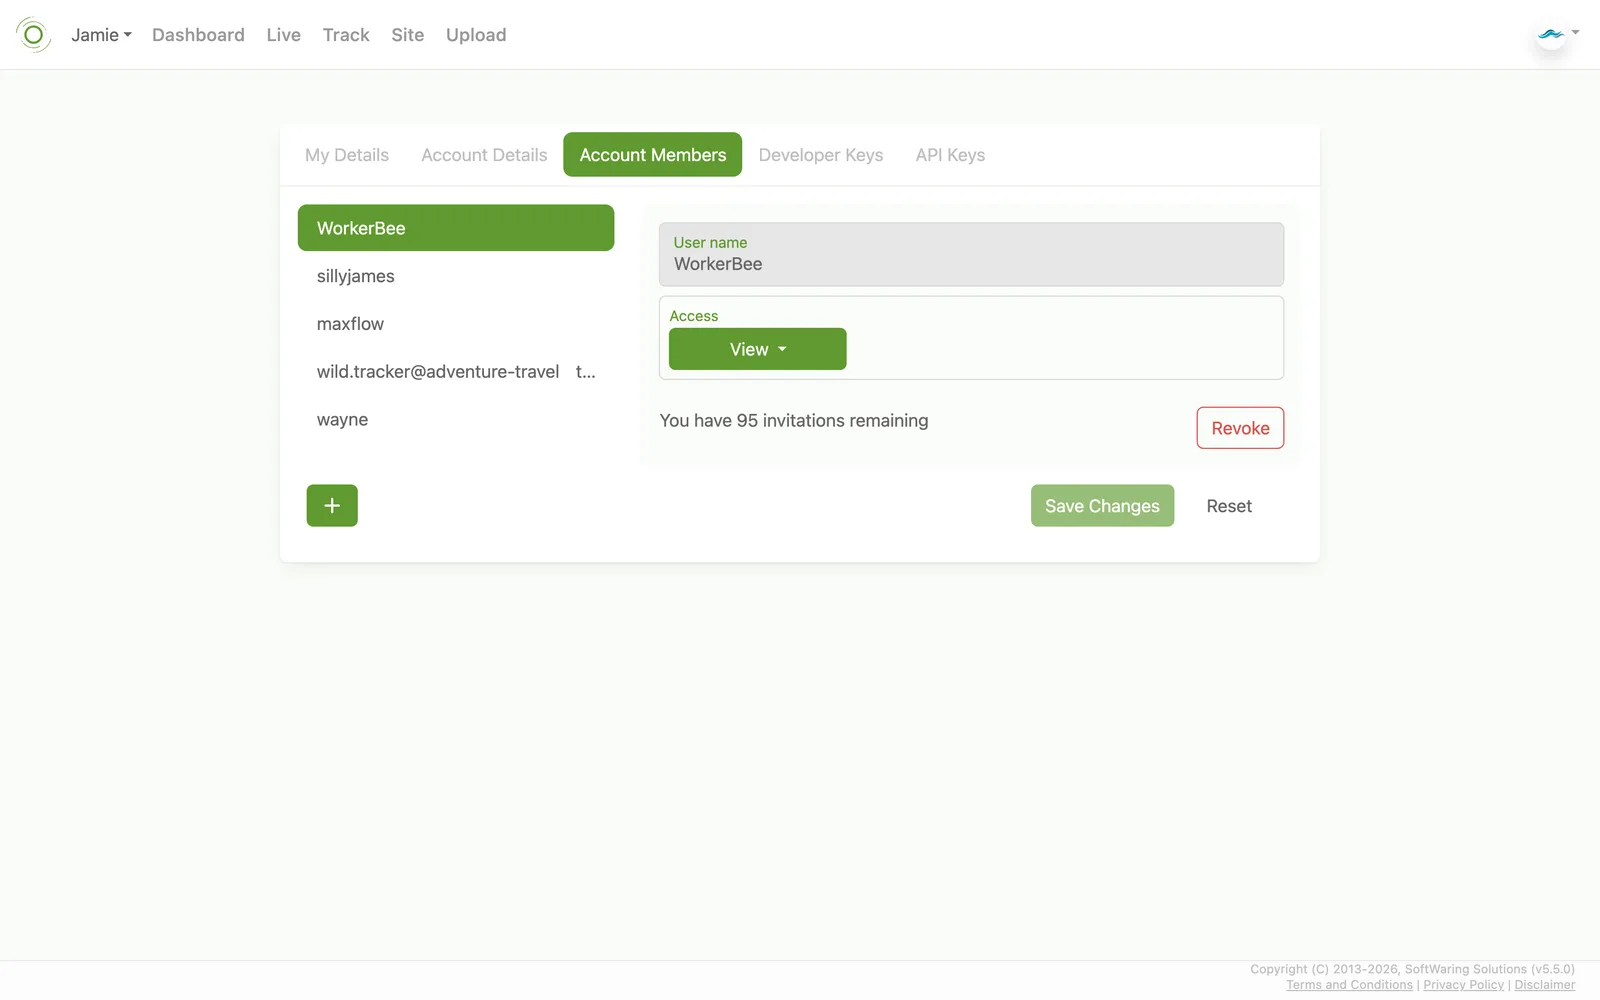
- None - no access.
- Consumer - can view data.
- Contributor - can view and add new data.
- Owner - can view, add, and delete data.
Standard Data Types
Defining your own custom types is not available on Free (Personal) or Enterprise Minimum.
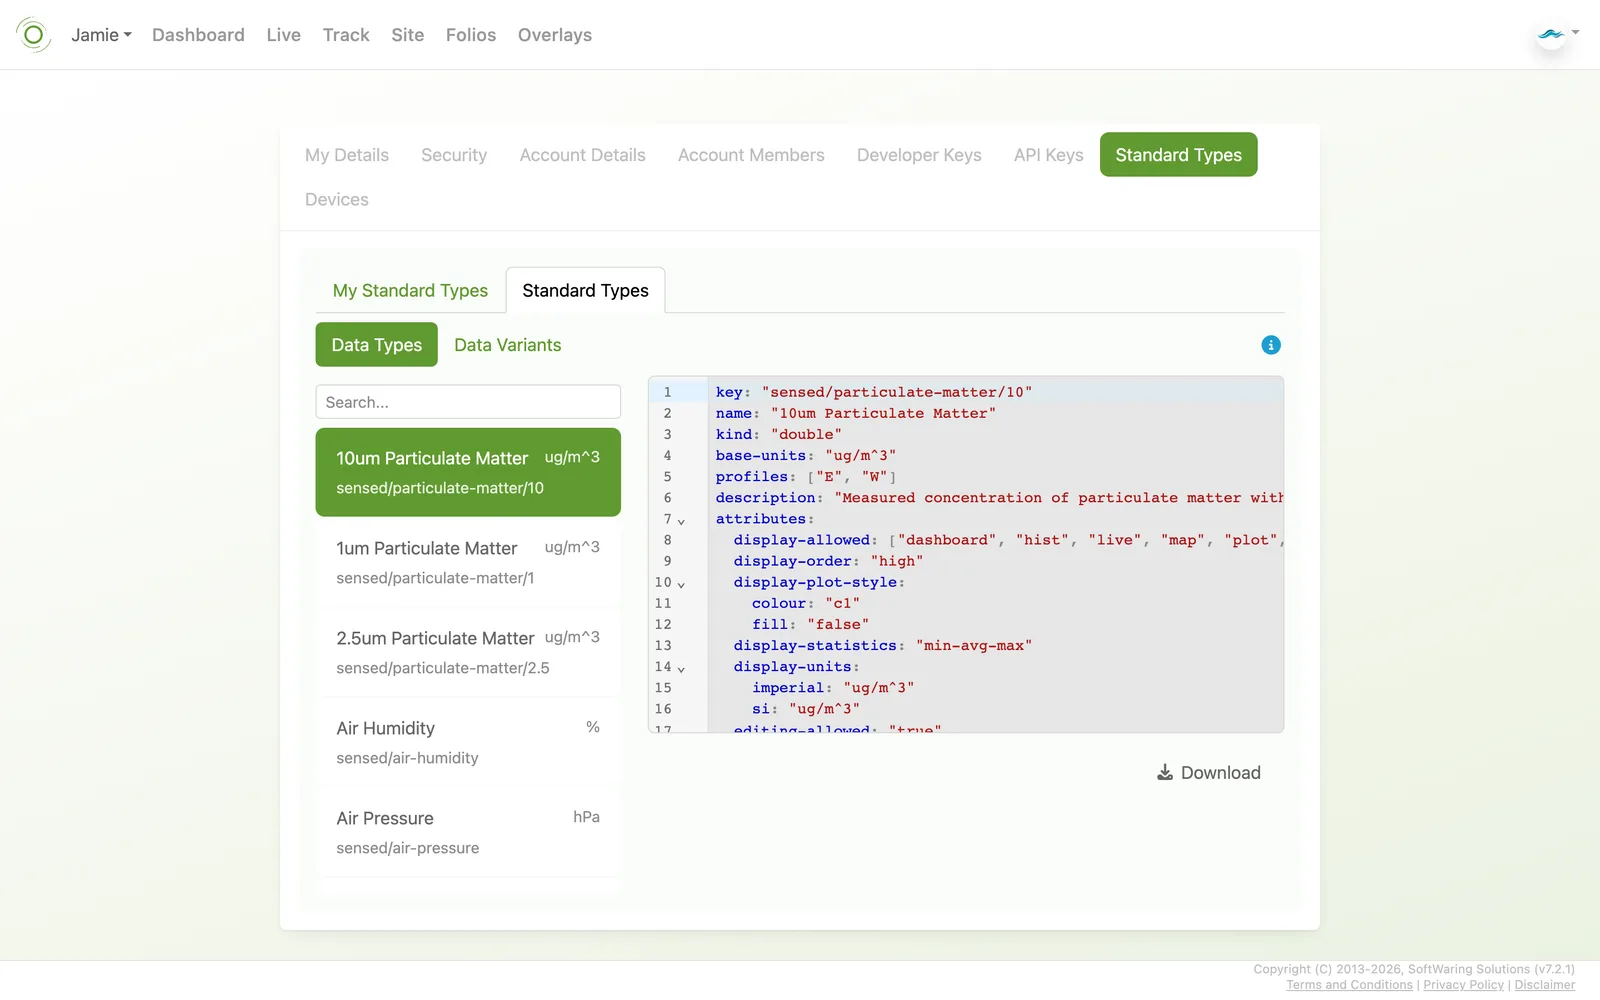
From the dropdown menu, choose Settings, then either Master Data or My Master Data and its Standard Data Types tab, to see how variables are aligned to a common definition, so data from different sources and sensors can be compared consistently. Each type defines its key, units, display behaviour, and related types.
From the dropdown menu, choose Settings, then either Master Data or My Master Data and its Standard Data Types tab, to see how variables are aligned to a common definition, so data from different sources and sensors can be compared consistently. Each type defines its key, units, display behaviour, and related types.
- Master Data - the built-in catalog, split into Data Types (e.g. air temperature, speed, load) and Data Variants. Search the list, select an entry to view its definition, and use Download to save it.
- My Master Data - the custom data types you've defined for your account.
For the meaning of every field, or to hand-edit a definition, see the
Standard Data Type schema reference.
Device Configurations
Defining your own custom configs is not available on Enterprise Minimum or Enterprise Standard.
From the dropdown menu, choose Settings, then either Master Data or My Master Data and its Device Config tab, to browse reusable device configuration definitions - these describe how a sensor or piece of machinery reports data, including which activity types it's compatible with and its configurable settings.
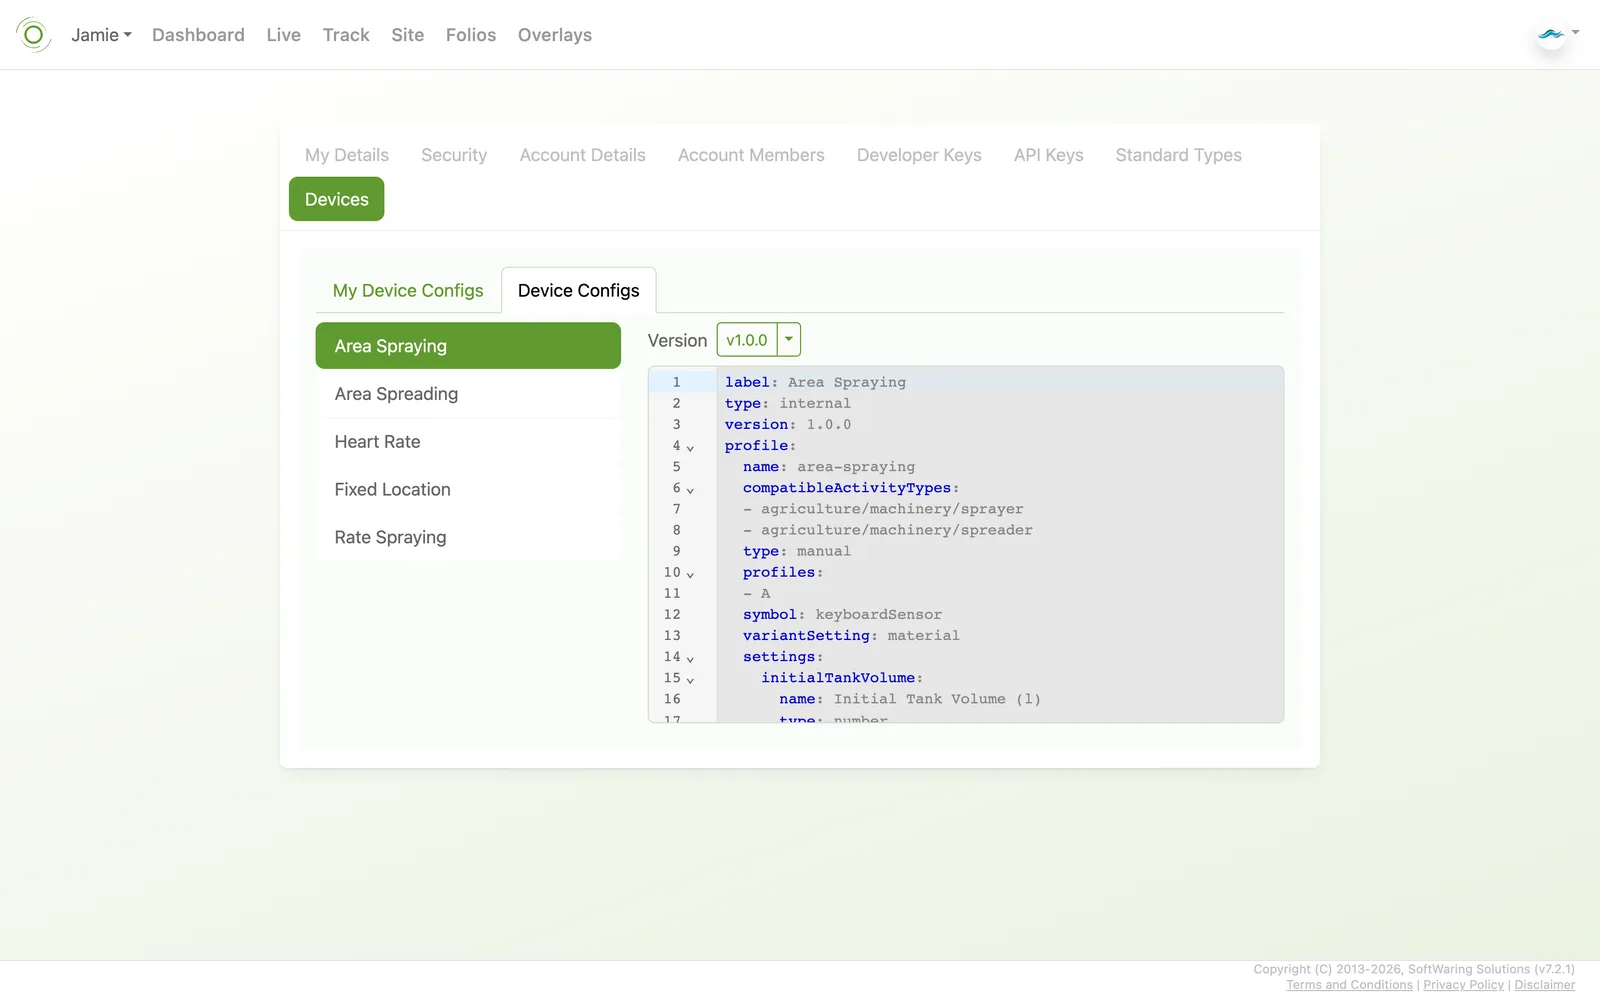
From the dropdown menu, choose Settings, then either Master Data or My Master Data and its Device Config tab, to browse reusable device configuration definitions - these describe how a sensor or piece of machinery reports data, including which activity types it's compatible with and its configurable settings.
- Master Data - the built-in library (e.g. area spraying, heart rate, fixed location). Select a config to view its definition, and switch between published versions with the Version dropdown.
- My Master Data - the custom device configs you've defined for your account.
For the meaning of every field, or to hand-edit a definition, see the
Device Config schema reference.
Activity Types
Defining your own custom activity types is available only on Enterprise Unlimited.
From the dropdown menu, choose Settings, then either Master Data or My Master Data and its Activity Types tab. An activity type classifies what an activity actually is (e.g. running, tractor spraying, weather station) and which profile and standard data types apply to it.
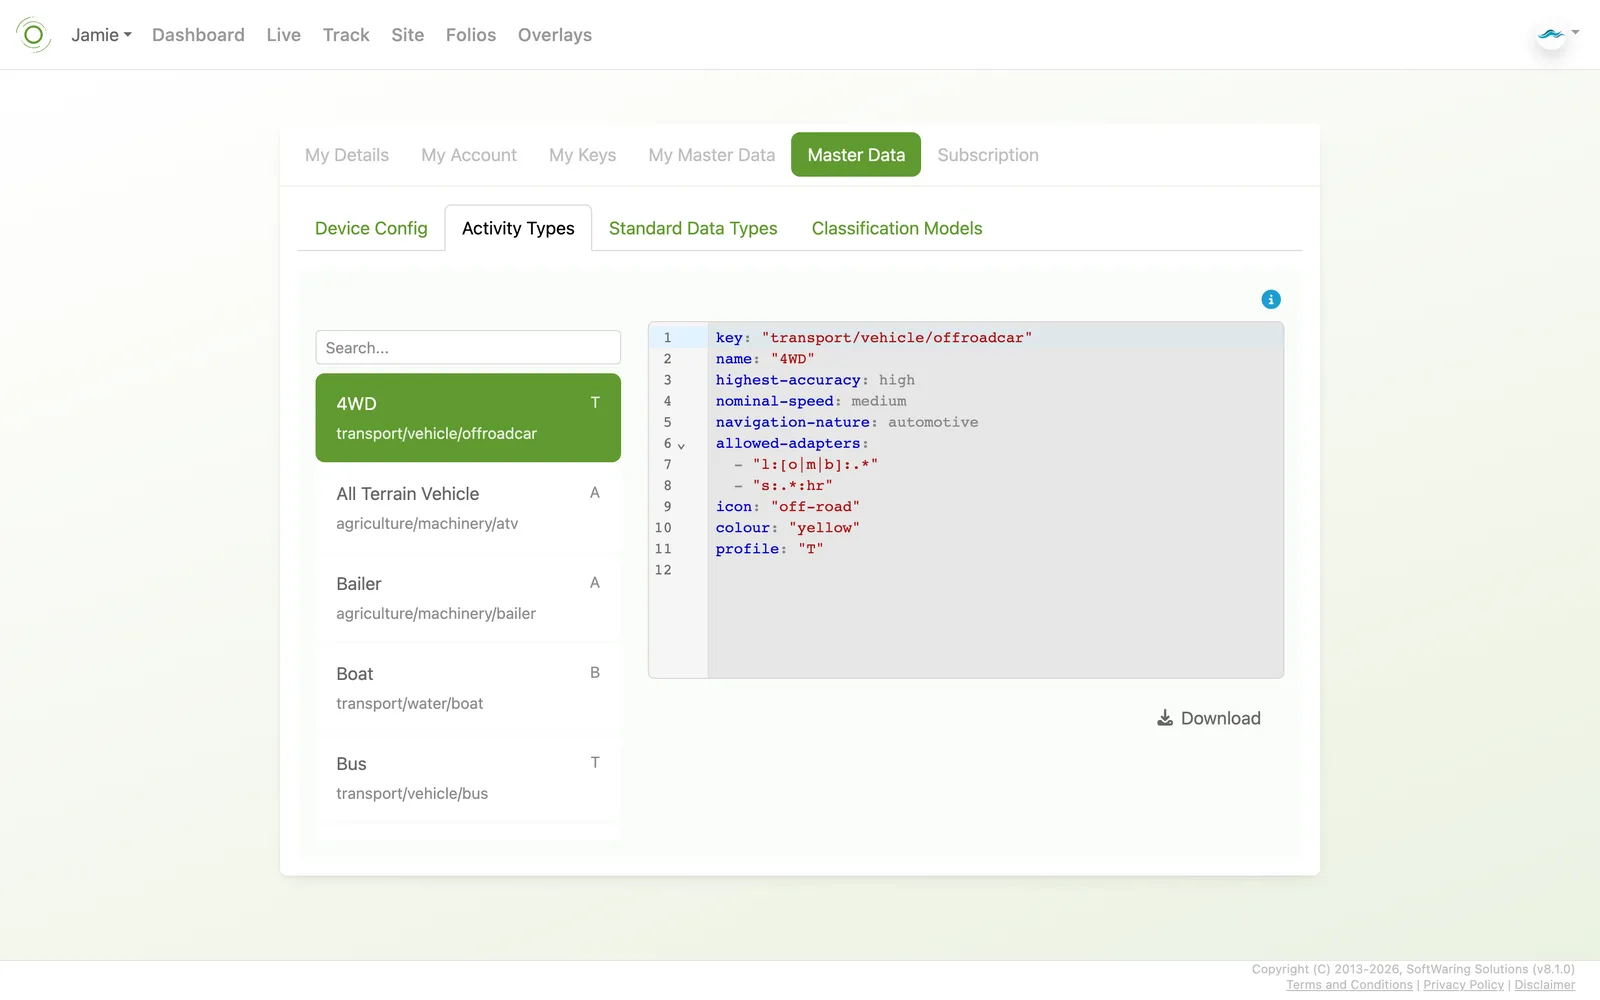
From the dropdown menu, choose Settings, then either Master Data or My Master Data and its Activity Types tab. An activity type classifies what an activity actually is (e.g. running, tractor spraying, weather station) and which profile and standard data types apply to it.
- Master Data - the built-in catalog. Select an entry to view its definition.
- My Master Data - the custom activity types you've defined for your account.
For the meaning of every field, see the
Activity Type schema reference.
Classification Models
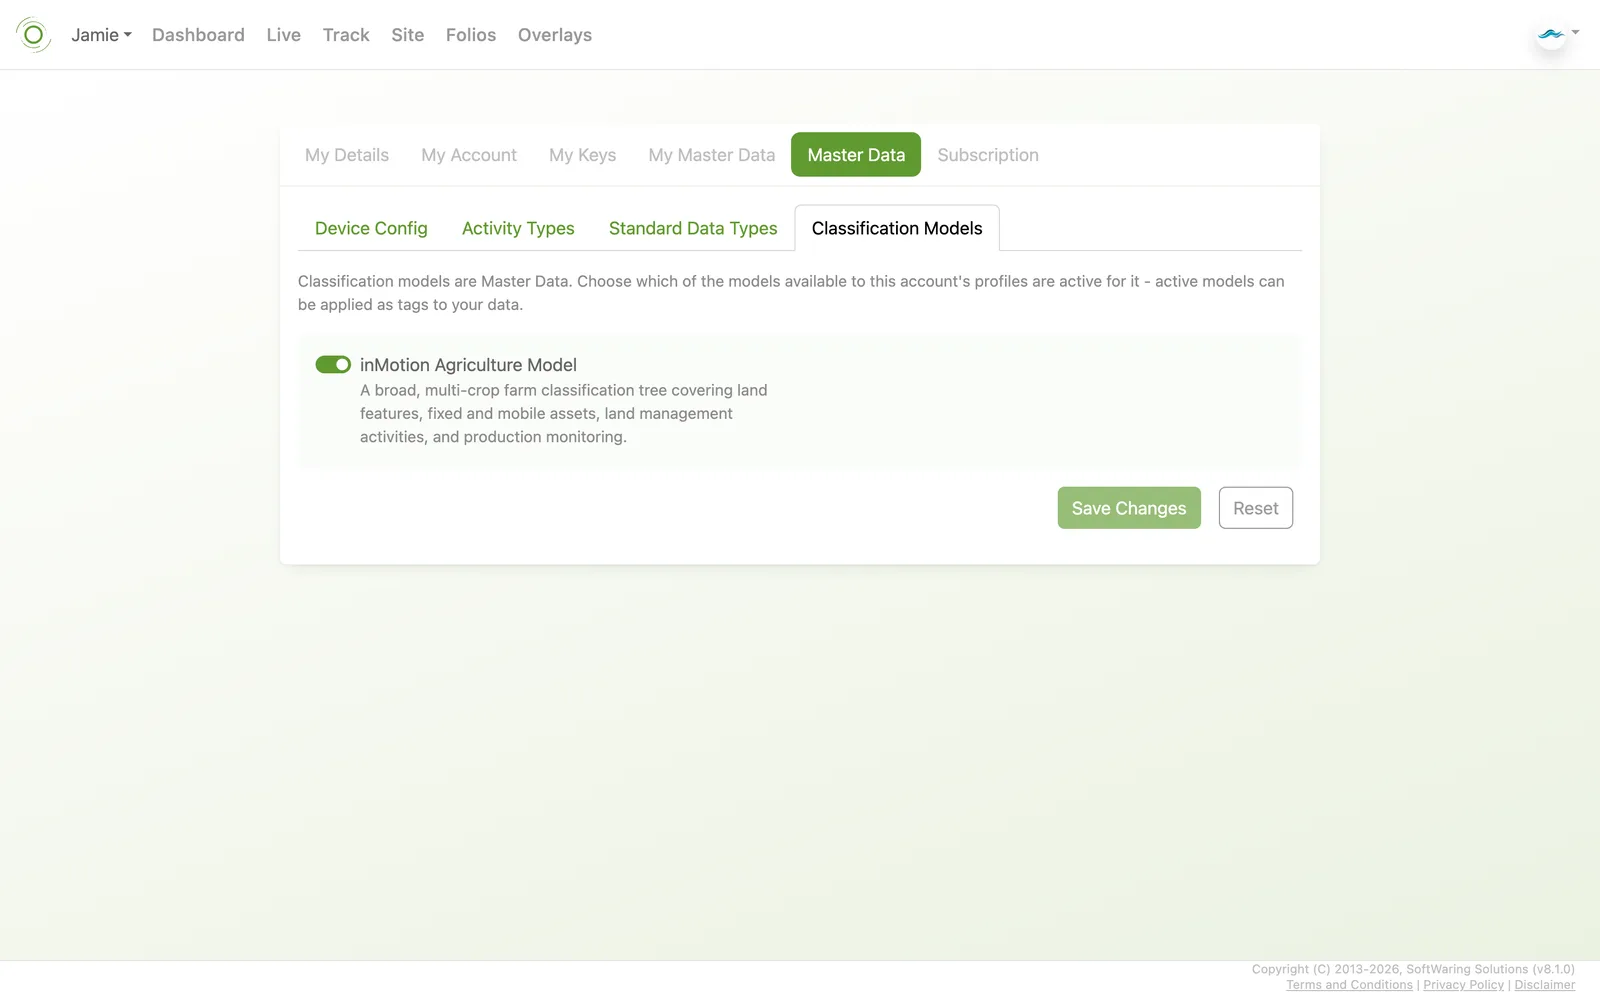
From the dropdown menu, choose Settings, then Master Data and its Classification Models
tab, to browse the built-in models used to automatically categorise or QC activity data. Select an entry to
view its definition.
Building Your Own Integration?
Developer keys and API keys for integrating your own apps, scripts, or devices with the
inMotion Data Platform are covered on the
Data Platform page.